
 |
| Crayon art made by dripping crayons through a hot glue gun onto canvas. |
 |
| Supplies for crayon art. |
Supplies needed:
- Crayons (Crayola 64 pack - $3, Off brand - $1.75 at Dollar General)
- Canvases - we used 11 by 14" (usually on sale for less than $10 for a 3 pack at Joanns
- Hot glue gun - ($3 at Joann, if you put crayons through it, it will no longer work as a glue gun, so buy a separate one to devote to crayon art)
- Acrylic paints (optional) - (less than $2 for a small bottle at Joann or Wal-Mart)
- Paint brushes (optional)
- Saw tooth hangers (~$2 for a pack of 7 at Joann)
- A large box (to put your canvas in to avoid making a huge mess)
- Round craft sticks (to shove the crayons through the glue gun)
Important note for putting crayons through this type of glue gun:
If you are going to shove crayons through the glue gun, it helps a lot to remove the trigger mechanism. To do this, you can unscrew the screws holding the glue gun together (make sure the glue gun is not plugged in when you do this!), separate the two halves, remove the trigger mechanism and then put the glue gun back together. We also used a round wooden craft stick to push the crayons through the glue gun. Be very careful, as the gun and wax get hot and unplug the glue gun when not in use!

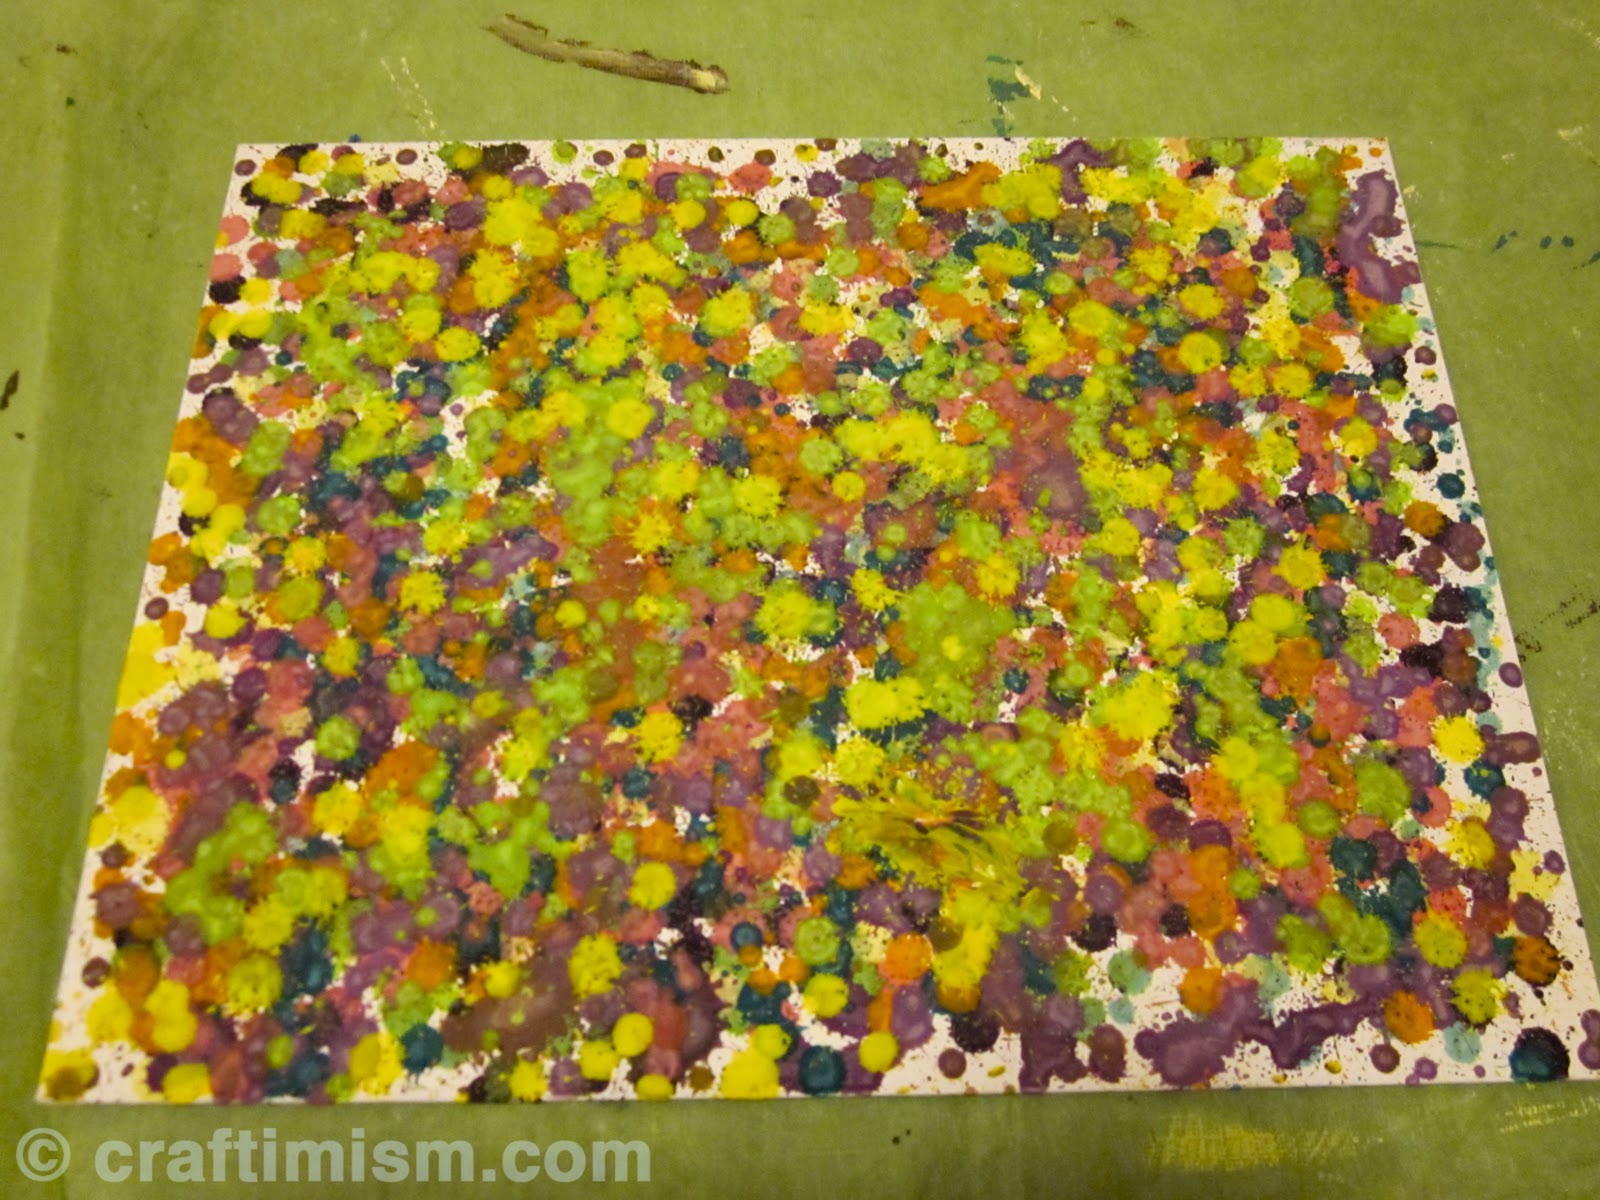
My first attempt at a similar project where I glued crayon bits to cardboard and then used a blowdrier to melt the crayons can be seen here. Again, I painted the canvases, this time in yellows and purples. To change it up a bit, I decided to insert crayons into the glue gun to melt them onto the canvas. I removed the paper from the crayons first and then shoved them through the gun. There was a learning curve with the glue gun and most of the splatters seen with the purple crayons disappeared once I removed the trigger mechanism from the glue gun (see note above).


Cara had a great idea for her project. She wanted to do something abstract with some geometric shapes and such. She used scotch tape (I think painters or masking tape would have worked better but I did not have either) to make the design on her canvas, and then melted crayons on top of the canvas using the hot glue gun. After that, she removed the tape (using an exacto knife to score the sides of the tape). I think it turned out very cool!

Kellee's project also turned out amazing! She first sketched the girl holding the umbrella onto the canvas and then taped on a cardboard barrier over the umbrella and paper over her design to prevent wax from dripping on the design. Then she layered on the melted crayons. After finishing with the crayons, she removed the paper and the cardboard and painted the girl and umbrella with acrylic paint. Good job, Kellee! :)

Laura wanted to try something different with her crayons art, so she melted the tips of the crayons and then used them like a brush to paint the wax onto her canvas. This provided her more control and made some very interesting blending effects. Way to be crafty!
For more melted crayon ideas and inspiration, click here.

No comments:
Post a Comment